On This Page
Navigating Template Manager
The Templates tab allows you to manage query templates for products, diagnoses, and procedures. Query templates are a predefined list of brands or codes that can be applied when creating a query. This allows you to quickly add frequently used brands/codes to your queries, without having to manually add them each time.
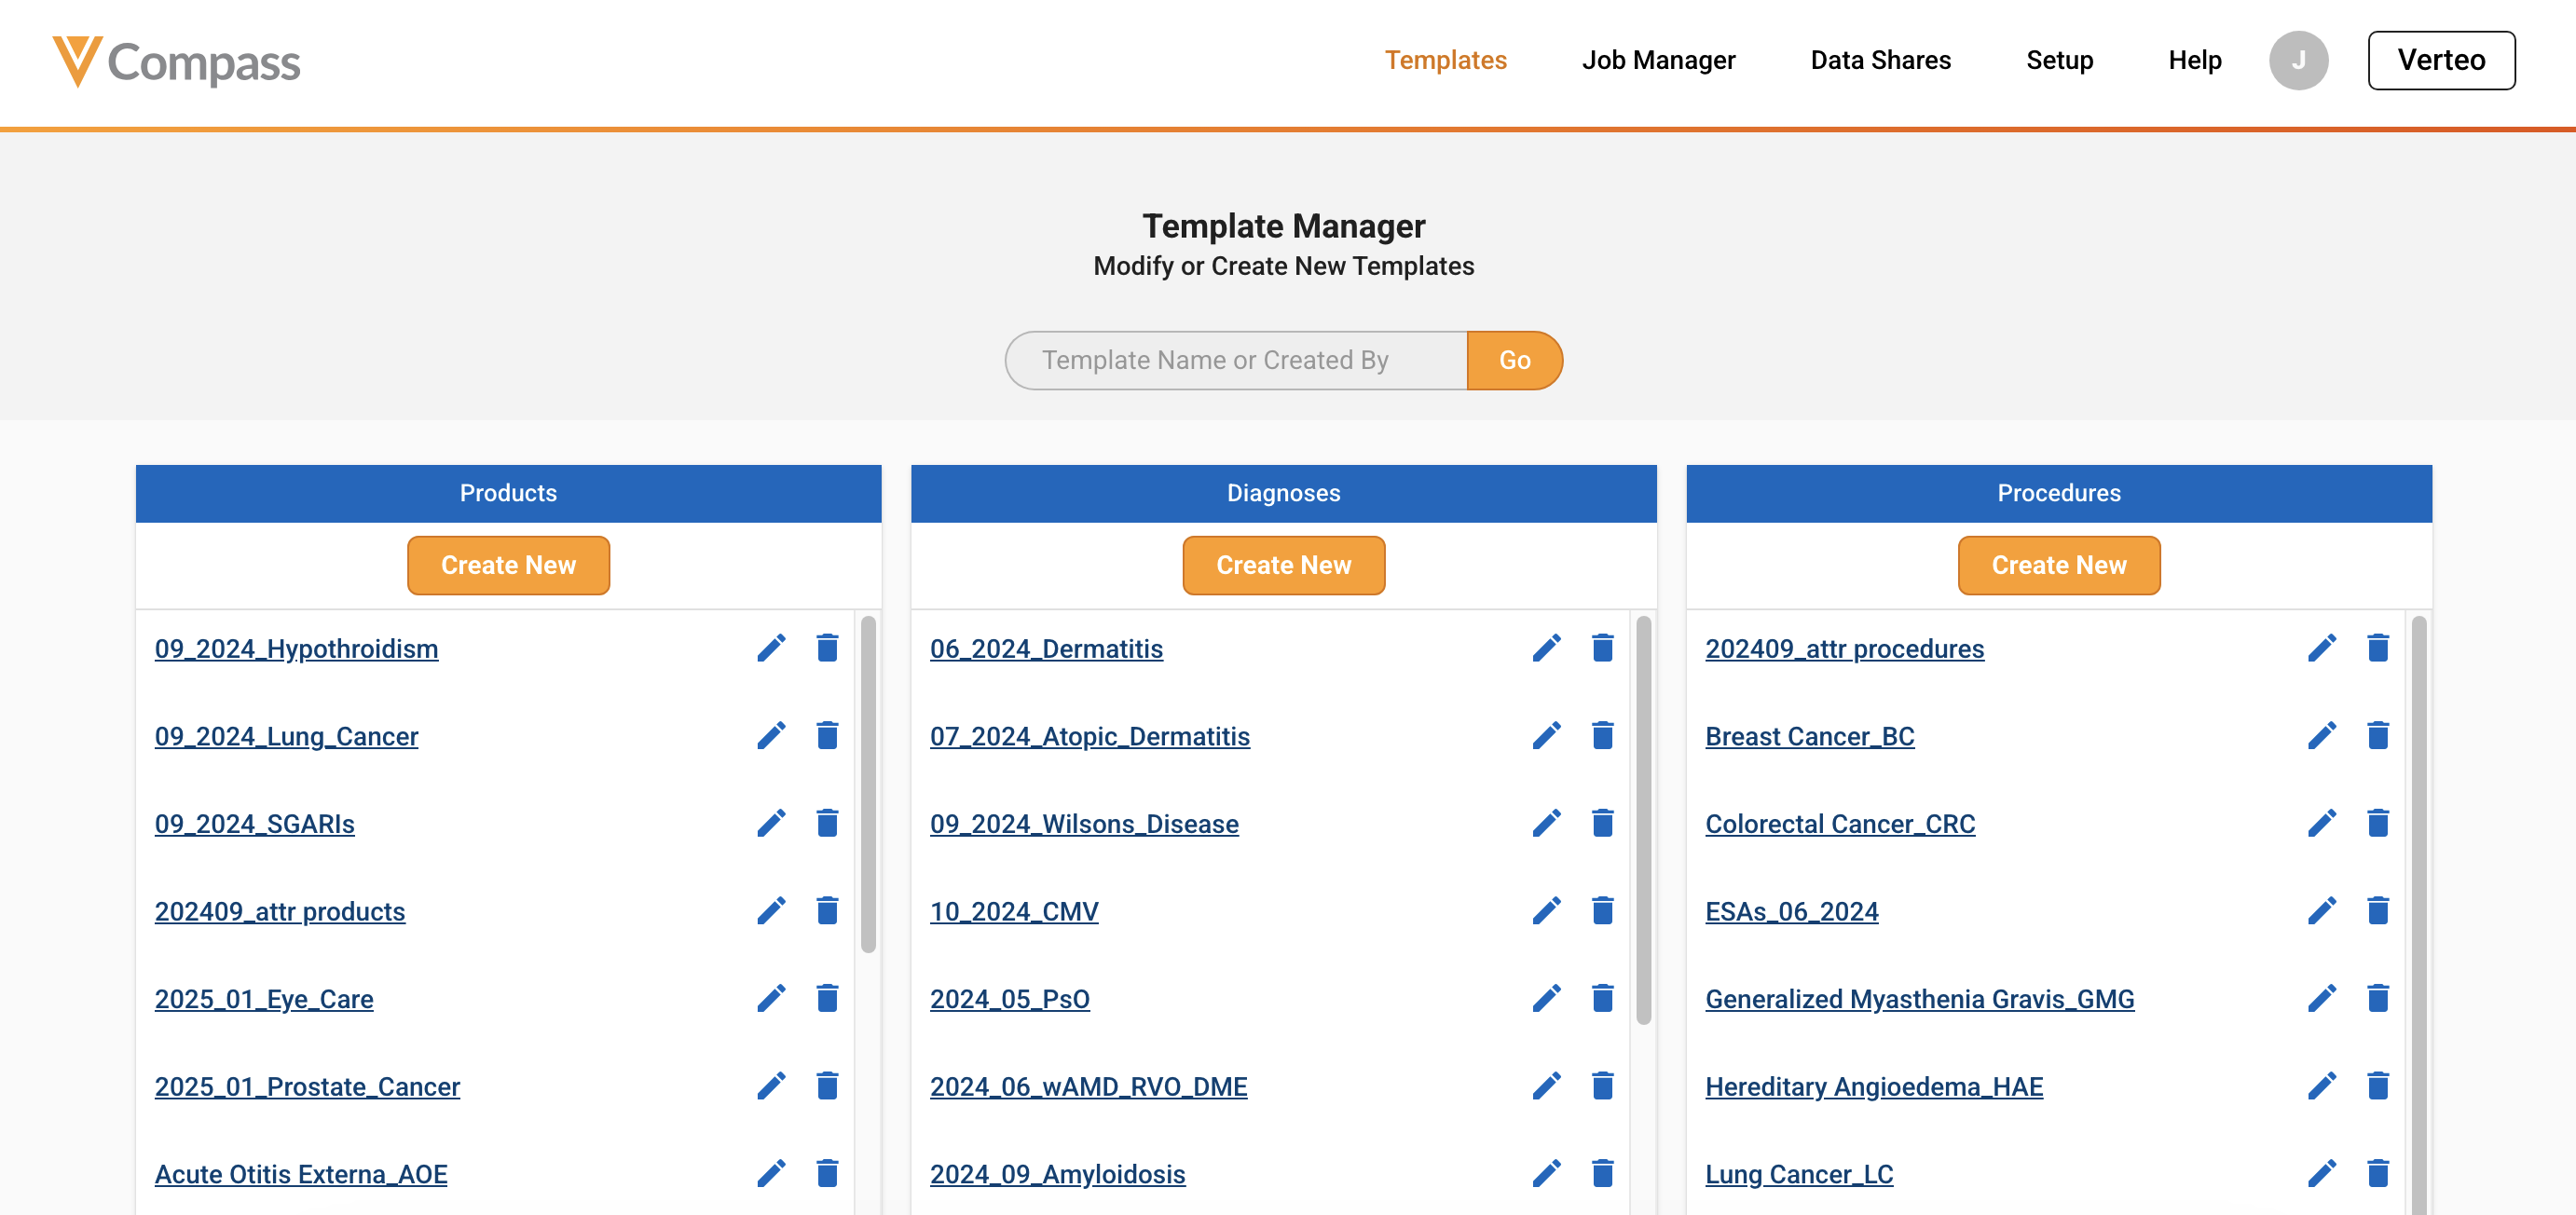
Template Manager displays a list of all available templates for products, diagnoses, and procedures. Templates can be used across all Compass products. To navigate through the templates, use the right scroll bars for each template panel. You can also search on specific templates using the search bar on the template name or created by user.
Creating Templates
Templates can be created from within any Compass product, or from the Template Manager. Refer to Saving Templates (Compass Patient) for more information on how to create templates during your data pulls.
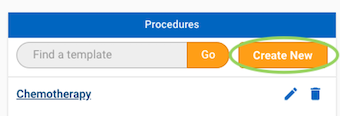
To create a template from Template Manager, click on the “Create New” button in the panel for the template type (product, diagnosis, procedure) you would like to create.
This will open the Code Searcher for products, diagnoses, or procedures (depending on which type you have selected).
- Refer to Products for more information on how to search for and add products. Note that products are added to templates on a brand level, so that they can be used in Compass queries.
- Refer to Diagnoses for more information on how to search for and add diagnosis codes.
- Refer to Procedures for more information on how to search for and add procedure codes.
Once you have added brands/codes to your template, click on “Save”.
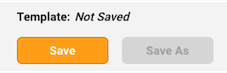
This will prompt you to name your template. After saving your template, the template name will then be populated in the upper-left corner. You may rename your template by clicking on the template name and providing a new name.
Note Template names can only consist of letters, numbers, underscores and spaces.
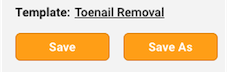
You may continue to add brands/codes to your template. If you would like to update the existing template with any changes, click on “Save”. If you would like to create a new template to store any additional changes, click “Save As”. This will prompt you to enter a name for the new template. Once you are finished working on your template, click on “Done” in the upper-right corner. This will return you to the Template Manager, and your new template will appear under the corresponding template panel.
Managing Templates
View
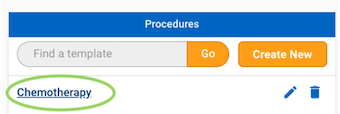
To view the contents of an existing template, click on the template name in Template Manager.
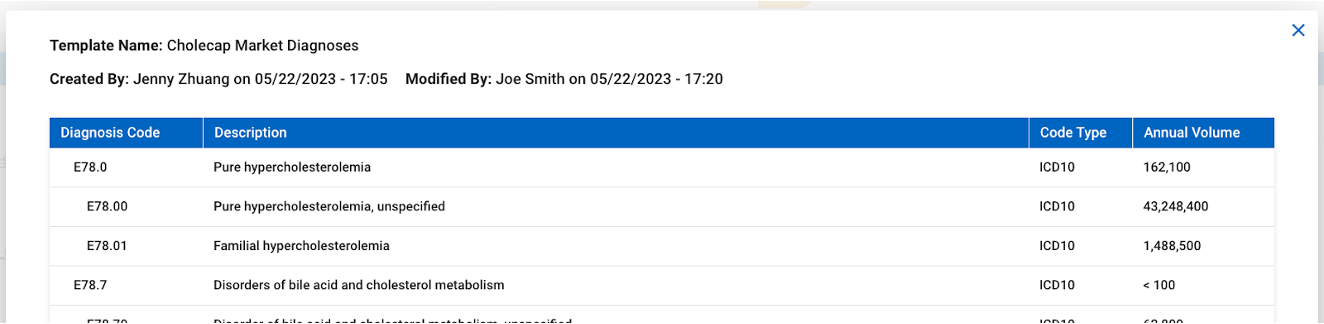
This will open a new window with the details of the template codes as well as the created date, created by user, last modified date, and last modified user. Click X to close the window.
Edit
To edit an existing template, click on the Edit action (pencil) next to the template you would like to edit. This will open the Code Searcher for products, diagnoses, or procedures (depending on which type you have selected). From here, you can add or remove codes to the template and save the existing template. Refer to Creating Templates for more information on how to modify and save any changes to your template.
Note Editing a template does not automatically update any queries utilizing that template. When a template is applied to a query, the codes currently in the template are added to the query. If a template is updated at a later point (e.g. codes are added or removed), any recurring queries utilizing that template should be manually updated to include the template changes.
Delete
To delete an existing template, click on the Delete action (trash can) next to the template you would like to delete. Upon clicking Delete, you will be prompted to confirm you would like to delete the template. Click “Continue” to delete the template.
Note Once a template is deleted, it cannot be recovered.